The United Kingdom recently introduced the “Electronic Travel Authorization” (ETA) scheme. Effectively, this requires most travelers to obtain an e-visa equivalent prior to entering the country. In this post, I’ll provide a step-by-step guide on how to apply for a UK ETA. TL/DR: it’s easy, though the fee is irritating.
Getting Started
First things first – who needs an UK ETA? I’ll direct you to the UK’s official website, but in short, pretty much anyone who previously qualified for visa-free travel to the UK, and doesn’t otherwise have a visa. Second – and most important – begin the process ONLY at the UK government’s official site. If you search for “UK ETA” or “UK advance travel authorization”, many official looking sites pop up. Click on the one that uses the gov.uk domain. Those other sites are ads for third-party application services, which charge substantially higher prices for the same service. You can apply for yourself or on behalf of someone else.
Speaking of cost, an ETA currently costs £16, or the equivalent in your home currency. Once obtained, the ETA is valid for two years, or until your passport expires, whichever comes first.
Do I Need an ETA for Connecting Flights?
Technically, the answer is no, at least for now. If you only plan a sterile transit through a UK airport, you do not need an ETA. However, if you end up in an IRROPS situation, and want to exit the airport, you’re SOL if you don’t have one. For that reason, you might consider getting one even if you’re just transiting. I did for my upcoming trip to Germany with a connection through London Heathrow. Also note that the UK may change the rules and require ETAs for transits at any time. Officially, the exemption for sterile transit is a “temporary suspension”.
Step-by-Step – How to Apply for a UK ETA
The UK really wants you to apply for your ETA through the app. I found the app easy to use, and it works for most situations. However, if you’re applying for someone who isn’t physically with you, you’ll need to apply through the website. If you scroll down about 2/3 of the way in the official website link above, you’ll find a link to “apply online”. But you have to go through two more screens imploring you to use the app first. Note that the process itself is mostly the same regardless of method used. If applying online, though, you can upload your photo instead of taking a selfie (more on that later).
Anyway, after downloading the app, you’ll see the following intro screen after you launch it.

To complete the process, you’ll need your passport, access to your email, and a payment method. Apple Pay or Google Pay are options if you don’t have a credit or debit card handy. After going through two more informational screens, the app asks you to enter your email and phone number. The system sends a MFA verification code to your email, but not your phone number.


Next, it will ask to take a photo of your passport page. If you have a chip-enabled passport, you also need to scan the inside back cover.

This is also a good time to remind you that the ETA is linked to your current passport. If you renew your passport before the ETA expires, you’ll have to apply again.
Next, you’ll be asked to take two selfies. The first is a simple face scan; all you need to do is stick your face within the oval. I found the next part a bit frustrating, though. The app asks you to take a passport-like photo in selfie mode. Which is a little harder than you might think. In order for the system to accept the photo, you need a plain, light-colored background, and need to hold the phone far enough away from you to capture your face and shoulders.

If you take the photo successfully, the application gives you a “your photo meets our requirements” message. I did finally get one to work, though it took several tries.

Next, enter your address, confirm your nationalities, and enter your employment status.


Then, you’ll need to self-certify that you aren’t a criminal or a terrorist. (I had no idea union membership is a crime in some countries…)


And finally, that brings you to the payment screen. After first confirming your place of application, the system automatically converts the £16 application fee to your home currency. In this case, it provides a price of $22.23. Yes, that is an extremely terrible exchange rate, at $1.389 per GBP compared to the current spot rate of $1.33. Given the amount, though, you’re getting ripped off to the tune of 95 cents. Irritating, but not worth the effort to find a workaround.


Once you pay, you’ll receive an email confirmation that your application is in process. UK Immigration indicates that standard turnaround is 3 business days. You can’t check on the status of your application for one week, though.
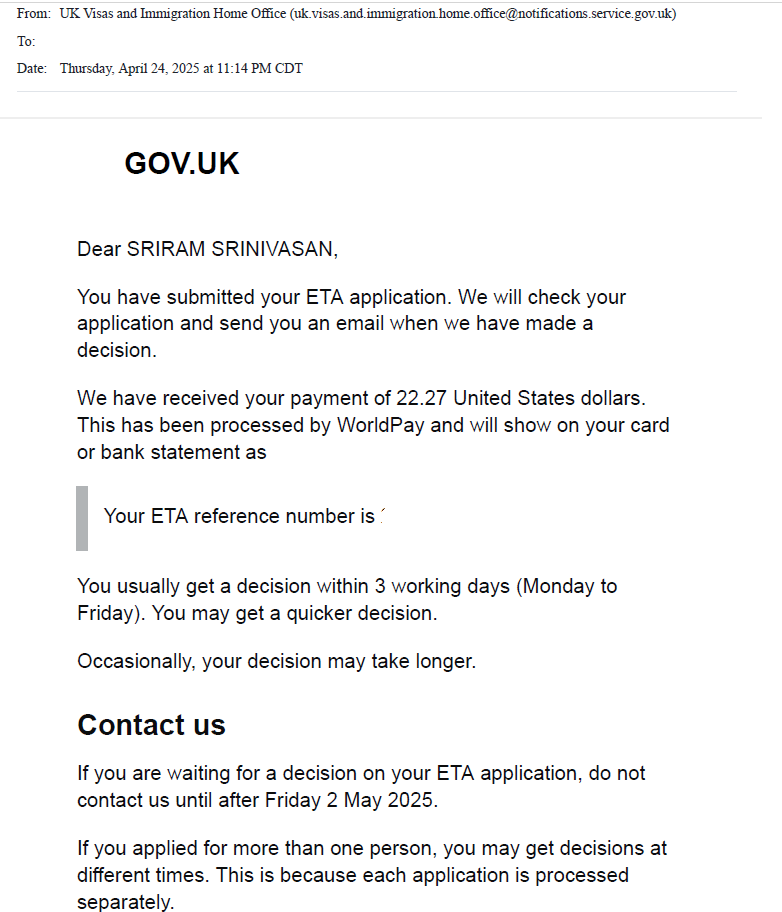
They said 3 working days, but the approval email came through exactly 60 SECONDS later. Alrighty then…
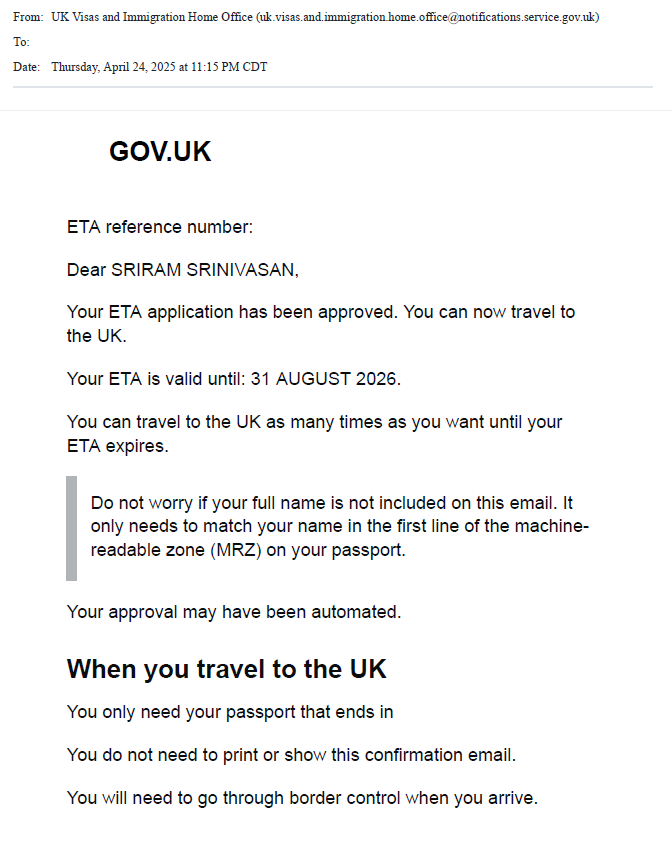
It appears some applicants are eligible for automated, instant approval. I cant guarantee you’ll have the same rapid turnaround, though. Because the ETA links to your passport, the official guidance states that you don’t need to carry a copy with you. I’m old fashioned, though, so I plan to keep a hard copy with the rest of my travel documents. Just in case, of course.
Final Thoughts
Overall, I found the process of applying for a UK ETA pretty easy. The only somewhat difficult part was getting the selfie right, but even so, the whole process took about 20 minutes. It is just unfortunate (and irritating) that there’s yet another fee to deal with when putting your budget together.